

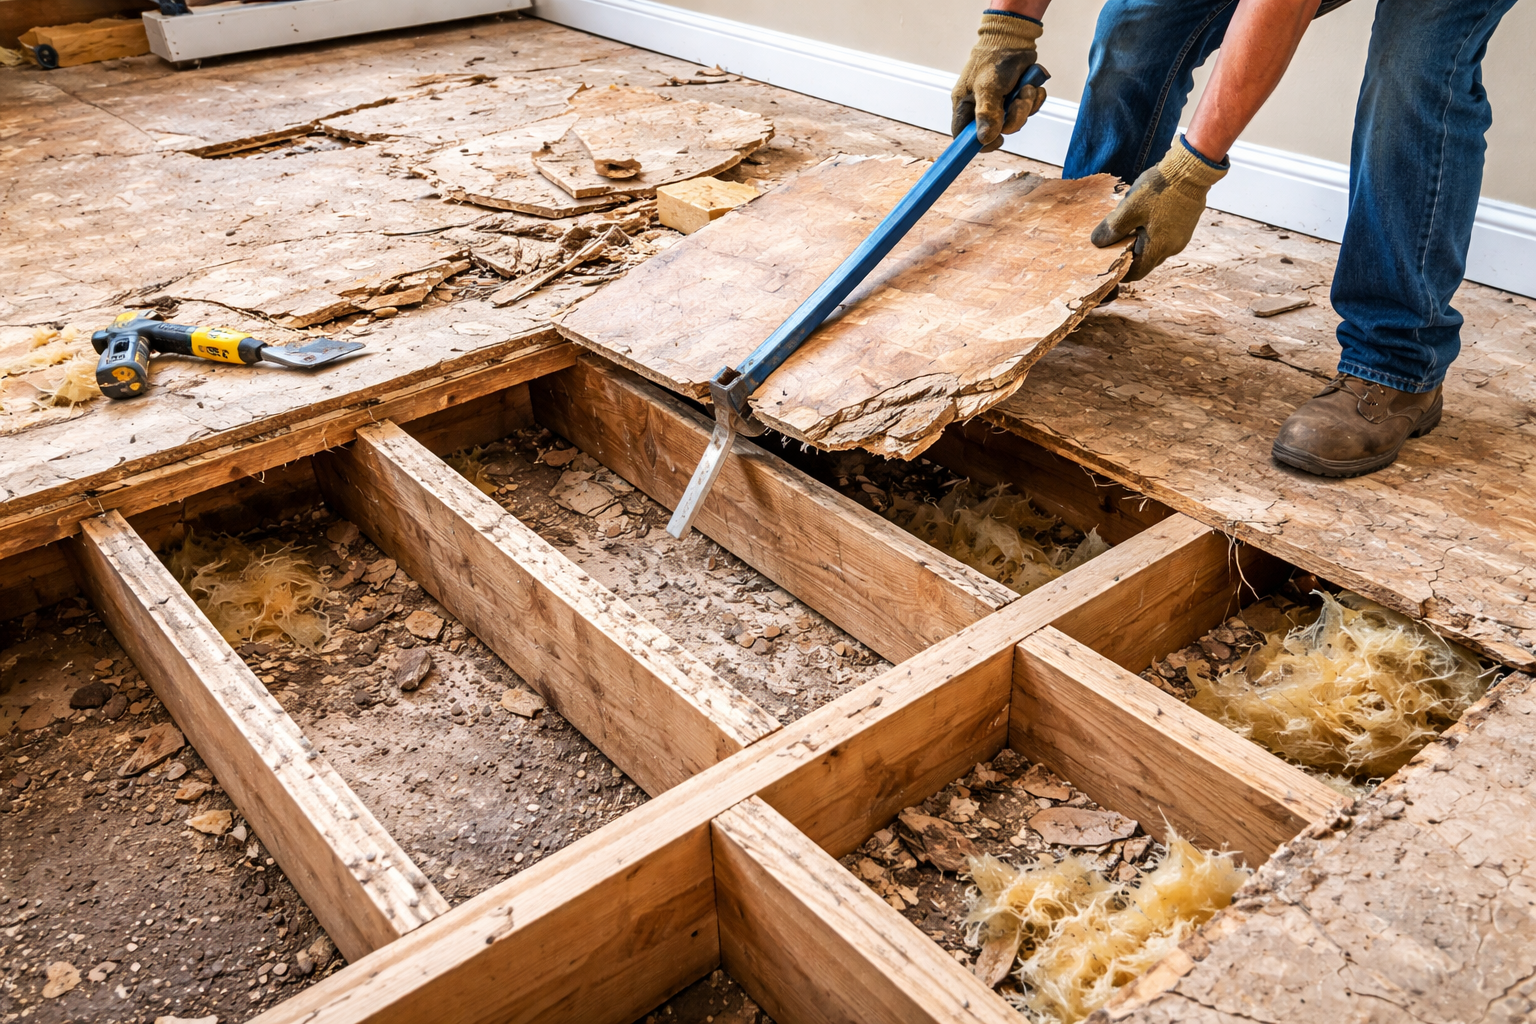
Most homeowners focus on the visible part of a flooring project—the finished surface. But what’s underneath matters just as much. When a subfloor is damaged, uneven, or compromised, installing new flooring on top of it can lead to serious problems down the road.
Homeowners in Lorton, Virginia, and nearby areas like Springfield, Fairfax, and Woodbridge often discover subfloor issues when replacing old flooring. Understanding when removing a subfloor is necessary—and what the process involves—helps avoid costly surprises and protects the longevity of the new floor.
What Is a Subfloor and Why It Matters
The subfloor is the structural layer beneath finished flooring. It provides support, stability, and a level surface for materials like hardwood, carpet, or tile.
A healthy subfloor should be:
Flat and level
Dry and free from moisture damage
Secure with no movement or squeaking
Structurally sound
When these conditions aren’t met, the finished flooring above can fail prematurely.
Common Reasons a Subfloor Needs to Be Removed
Not every flooring project requires subfloor removal, but there are situations where replacement is the best option.
Water or Moisture Damage
Leaks, flooding, or long-term moisture exposure can cause:
Rotting wood
Mold growth
Warping or soft spots
Moisture-damaged subfloors cannot reliably support new flooring.
Structural Weakness or Rot
Subfloors weakened by age or pests may flex under weight, leading to:
Cracked flooring
Squeaks and movement
Visible dips or uneven areas
Replacing compromised sections restores structural integrity.
Severe Unevenness
Minor unevenness can sometimes be corrected, but major dips or slopes often require removal and replacement to create a level base.
Previous Improper Repairs
Layering new materials over old problems often leads to future failure. In some cases, removing the subfloor is the only way to correct past mistakes.
How Professionals Evaluate Subfloor Condition
Before removing a subfloor, professionals typically:
Inspect for moisture using specialized tools
Check for movement or flex
Identify damaged or rotted sections
Evaluate joist spacing and support
This evaluation determines whether partial repairs or full replacement is necessary.
The Subfloor Removal Process: Step by Step
Removing a subfloor is a controlled process designed to protect the surrounding structure while addressing underlying issues.
Step 1: Removing Existing Flooring
Finished flooring materials are carefully removed to expose the subfloor. This may include carpet, hardwood, or other surfaces.
Step 2: Isolating Damaged Areas
Installers mark sections that need removal, ensuring only affected areas are taken out when possible.
Step 3: Cutting and Removing Subfloor Panels
Damaged panels are cut out and removed without disturbing joists or surrounding framing.
Step 4: Inspecting Joists and Supports
Once the subfloor is removed, joists are inspected for:
Rot or damage
Level alignment
Proper spacing
Repairs are made before new panels are installed.
Step 5: Installing New Subfloor Material
New subfloor panels are installed, secured, and leveled to create a stable foundation for finished flooring.
Why Subfloor Prep Is Critical Before New Flooring
Skipping proper subfloor preparation can lead to:
Squeaking floors
Cracked hardwood planks
Wrinkled carpet
Shortened flooring lifespan
A smooth, secure subfloor ensures the finished flooring performs as intended.
How Subfloor Condition Affects Flooring Choices
Subfloor quality can influence which flooring materials are appropriate.
For example:
Hardwood flooring requires a flat, dry base
Carpet can hide minor imperfections but still needs stability
Engineered flooring may tolerate slight movement better than solid wood
Addressing subfloor issues first allows greater flexibility in flooring selection.
Partial vs. Full Subfloor Replacement
Not all projects require full removal. Professionals may recommend:
Partial replacement for localized damage
Full replacement for widespread issues
The decision depends on damage extent, moisture levels, and long-term goals.
Why Professional Subfloor Work Matters
Subfloor removal and replacement involve structural elements of the home. Mistakes can lead to long-term problems.
Professional installers ensure:
Proper moisture protection
Secure fastening
Level surfaces
Code-compliant materials
A well-prepared base protects your entire flooring investment.
A professionally managed removing subfloor process ensures new flooring starts on a solid foundation.
Planning Ahead for a Smoother Flooring Project
Subfloor issues often add time and cost, but addressing them early prevents bigger problems later.
Homeowners who plan for proper subfloor prep typically experience:
Fewer delays
Better installation results
Longer-lasting floors
Clients have reported that tackling subfloor problems upfront provides peace of mind and avoids repeat repairs.
Ready to Evaluate Your Subfloor?
If you’re planning new flooring and suspect underlying issues, a professional evaluation can help determine the best next steps.
To schedule a free estimate and subfloor assessment, visit:
https://www.kruperflooring.com/free-estimate
Many companies notice that when subfloor issues are handled correctly, the entire flooring project runs more smoothly.
FAQ Section
Q1: How do I know if my subfloor needs to be removed?
Signs include soft spots, squeaking, moisture damage, or uneven flooring.
Q2: Is removing a subfloor always necessary?
No. Some issues can be repaired without full removal, depending on severity.
Q3: How long does subfloor replacement take?
Most projects take one to two days, depending on the size and damage extent.
Q4: Can new flooring be installed over a damaged subfloor?
Installing over damaged subfloors often leads to failure and is not recommended.


