

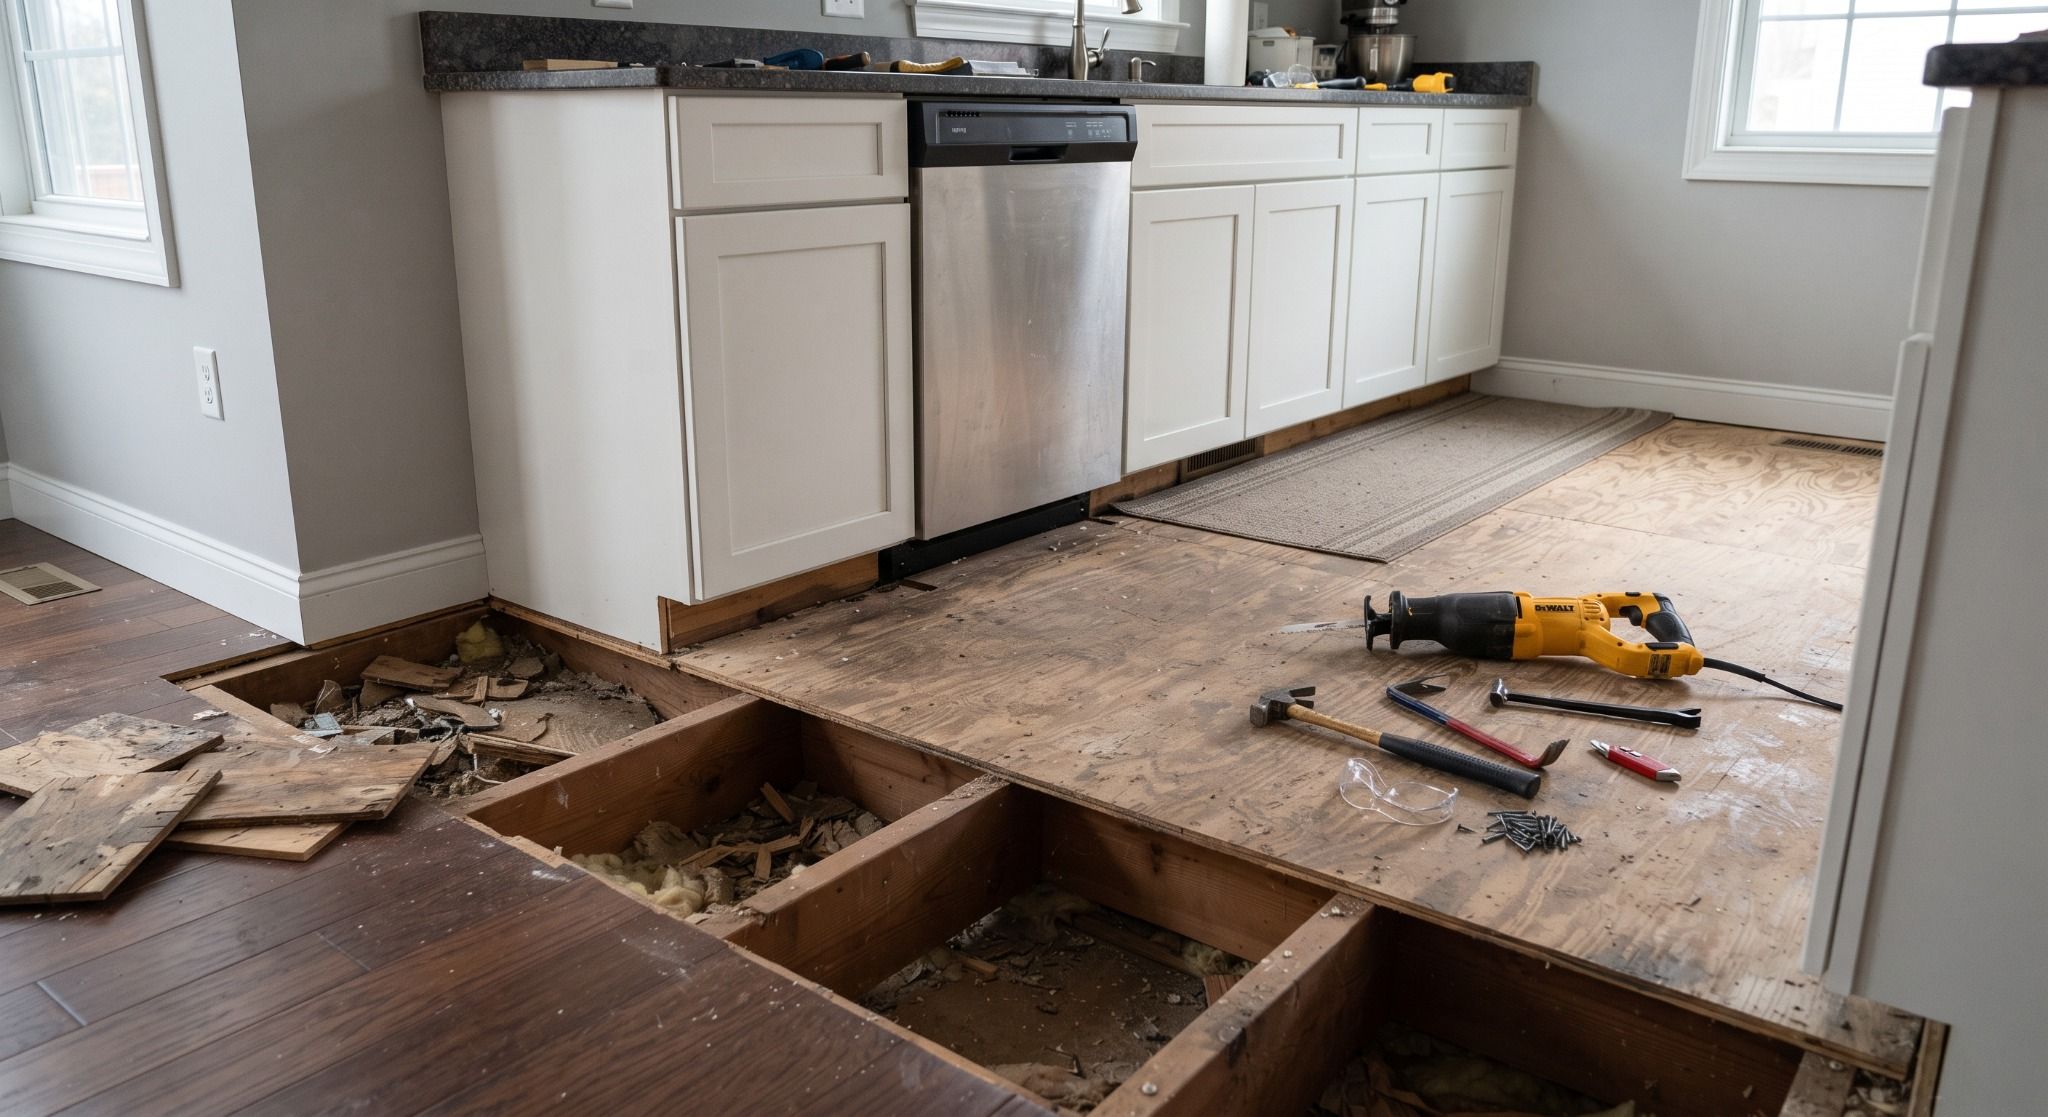
Homeowners throughout Northern Virginia, from historic properties in Alexandria to busy family homes in Fairfax and Arlington, take immense pride in updating their interiors. Whether you are refreshing a kitchen layout in Chantilly or upgrading spaces in Woodbridge and Leesburg, structural home improvement projects often require meticulous planning. When a sagging or water damaged subfloor threatens the integrity of your surfaces, addressing the foundation is essential before installing premium hardwood, luxury vinyl, or durable tile.
At a Glance: Subfloor Removal Around Cabinets
* Core Challenge: Removing and replacing damaged subflooring underneath existing kitchen or bathroom cabinetry without tearing out the entire built in layout.
* Primary Tool: A specialized oscillating multi tool or toe kick saw for making clean, precise flush cuts right against the base kicks.
* Key Support Step: Installing temporary support braces and secondary joist headers to keep cabinetry stable while the subfloor material beneath is extracted.
* Expert Solution: Partnering with a premier flooring company to ensure structural subfloor repairs and underlayment installations are executed flawlessly.
Assessing the Scope and Protecting Your Kitchen
Before taking any power tools to your floors, evaluating the extent of the damage is crucial. Leaking dishwasher lines, refrigerator leaks, or historical moisture issues can compromise plywood or oriented strand board subfloors while leaving upper cabinetry completely sound. As a trusted flooring company serving homeowners across the region, we always recommend verifying whether structural joists are impacted. Clear out all lower cabinet contents to reduce weight, and seal off adjacent living zones with plastic barriers to contain construction dust.
Precision Cutting Around Cabinet Toe Kicks
The traditional method of pulling out cabinets to replace a subfloor is time consuming and often unnecessary. Instead, flooring experts utilize precision cutting tools to separate the damaged subfloor directly against the cabinet base. Adjust your oscillating tool or circular saw blade depth precisely to match the thickness of the subfloor panel, ensuring you never cut into the underlying floor joists. Making straight, clean perimeter cuts just inches away from the cabinet toe kick gives you enough room to work without destabilizing the cabinetry above.
Securing Cabinets During the Extraction Process
Cabinets are typically anchored directly to wall studs and occasionally to the subfloor itself. Once you cut the subfloor away from beneath them, the cabinet boxes must remain securely supported. Fasten temporary wood braces underneath heavy granite or quartz countertops if necessary, and check out our flooring services page to learn how professional project coordination prevents structural sagging. Pry out the old subfloor sections carefully using a flat bar, clearing away old fasteners and debris from the exposed joists.
Installing and Patching the New Subfloor
With the damaged material removed, inspect the exposed joists for levelness and structural soundness. Install new blocking or ledger boards alongside existing joists to provide solid nailing edges for your replacement plywood patch. Measure twice and cut your new subfloor panels to fit snugly right up to the cabinet base edge, leaving a tiny expansion gap. Secure the new material with appropriate subfloor screws and construction adhesive to prevent future squeaks.
Preparing for Your New Surface Finish
After the structural repairs are complete, you are ready to transition into selecting your new surface materials. Explore our diverse product lines including waterproof flooring, laminate, and natural stone options by visiting our products page. If you want to view material samples right in the comfort of your living space, schedule a visit through our shop at home service. As Kruper Flooring & Design, we bring decades of hands on craftsmanship to every Northern Virginia home, ensuring your renovation stands the test of time.


